

What are cloud functions
Cloud functions are literally functions that you can deploy online to run things for you. This allows engineers and developers to run code without worrying about server management.
For example, let’s say that you have a node javascript function that returns you the current date:
function getTodaysDate() {
	return new Date();
}
Suppose that you want to host this function online, so anybody can access your awesome function by just going to www.example.com/get-todays-date and it will return you the date.
Before you would have to create an entire server in your preferred backend language to handle this endpoint. But now, you can easily deploy this function online to accomplish this task with minimal effort, using serverless cloud functions ☁️
Isn’t that nice? 😲
Ok, so where can you host cloud functions?
For this tutorial, we will be using Digital Ocean cloud functions as our preferred serverless computing platform. Digital Ocean is a popular choice for developers due to its simplicity and ease of use. Remember that you can get $200 in credit to start playing with it if you use my referral link 🤑
There are other options available to you that offer serverless computing services, including Amazon Web Services (AWS), Microsoft Azure, Google Cloud Platform (GCP), and IBM Cloud.
Being AWS my second favorite, I will do another tutorial using them, so stay tuned for that 🤓
Ok so, lets get started!
Prerequisites
Before we dive in, make sure you have these items ready to go:
- A Digital Ocean account. (Get free $200 on credits if you use my referral link)
- Install Digital Ocean CDK
doctl, follow the instructions here - Latest Node.js and NPM versions.
- A general knowledge of JavaScript or Node.js functions
What are we building
We’ll create a “names shuffler” - a tool that takes a list of names and returns them in a random order. This can help determine the order of participation in standup meetings.
To keep things short, we’ll focus on the cloud function’s functionality and create a single one called nameShuffler().
We’ll assign it an endpoint of /shuffle and pass the attendees’ names via params.attendees.
for example: /shuffle?attendees=aus,tony,karol,mark,timmy
and it will return us back a array of the attendees in random order:
[ 'Tony', 'Mark', 'Karol', 'Timmy', 'Aus' ]
Project creation
Let’s bootstrap our project structure for Digital Ocean Cloud Functions.
- Create a new folder called
my_cloud_functionsand navigate inside of it
$ mkdir name_shuffler && cd names_shuffler
- Now we just need to follow the folder structure that Digital Ocean has for their cloud functions. So we need to put any cloud function name as a folder name inside a folder named packages, so let’s create those folders.
$ mkdir -p packages/cloud/names_shuffler
if you are on windows try this instead:
$ mkdir packages\cloud\names_shuffler
- now open that folder with your favorite IDE, I will be using VSCode 😎
$ code .
- You should end up with a project that has this folder structure so far:
my_cloud_functions/
└── packages
    └── cloud
        └── names_shuffler
- Navigate inside the
names_shufflerfolder
$ cd packages/names_shuffler
- Create an
index.jsfile inside
$ touch index.js
if you are on windows try this instead:
$ type NUL > index.js
- Initiate a new npm project inside by running:
$ npm init -y
- now lets install inside that folder the only dependency we are gonna use, shuffle-array
$ npm install --package-lock-only shuffle-array
Since we are gonna be running this functions on the cloud, we don’t need to install the dependency locally, that is why we are adding the flag
--package-lock-onlyto thenpm install
- now you should have this file structure
my_cloud_functions/
└── packages
   └── cloud
        └── names_shuffler
            ├── index.js
            └── package.json
As you may have already noticed, each folder inside
cloud/represents its own cloud function. Is like if every folder its a separate node project. This means that if you require any dependencies, you will need to install them inside each individual folder.
- Now add this code to our
index.jsfile located inside thenames_shufflerfolder.
// Our main function that will be called by the cloud function
function main(args) {
    // The library to shuffle the names
    const shuffle = require('shuffle-array')

    // Extract the attendees from the arguments
    const { attendees = '' } = args;

    // Split the attendees into an array
    const names = attendees.split(',');

    // Shuffle the names
    const shuffledNames = shuffle(names);

    // Return the shuffled names
    return {
        body: { names: shuffledNames },
        statusCode: 500,
    }
}

// IMPORTANT: Makes the function available as a module in the project.
// This is required for any functions that require external dependencies.
exports.main = main;
I added some comments for you to understand what is happening
Wrapping up
Well now that we did all the magic inside that index.js file, it is time to deploy it to the Digital Ocean cloud using doctl
But before that, we are gonna need to tell doctl how we structured our code and where to find our functions, and this is by creating a file called project.yml at the root of the project.
$ touch project.yml
if you are on windows try this instead:
# for windows users
$ type NUL > project.yml
So your project file structure now looks like this
my_cloud_functions/
├─ packages
│  └── cloud
│       └── names_shuffler
│           ├── index.js
│           └── package.json
└── project.yml 👈
Note that
project.ymlis now there
Inside project.yml add this code:
packages:
  - name: cloud
    actions:
      - name: names_shuffler
        limits:
          timeout: 5000
          memory: 256
The code above basically will just tell Digital Ocean how to handle our cloud functions, the timeout limit, and the memory, so far we only have one (names_shuffler) remember.
Remember that cloud functions have to be quick and shouldn’t take too much time to load, thats why it is super important to set a
timeout
Deploying it into the cloud
Now that we have defined everything, we are ready to push this into the cloud!
Navigate to https://cloud.digitalocean.com/functions and click on “Create Namespace”
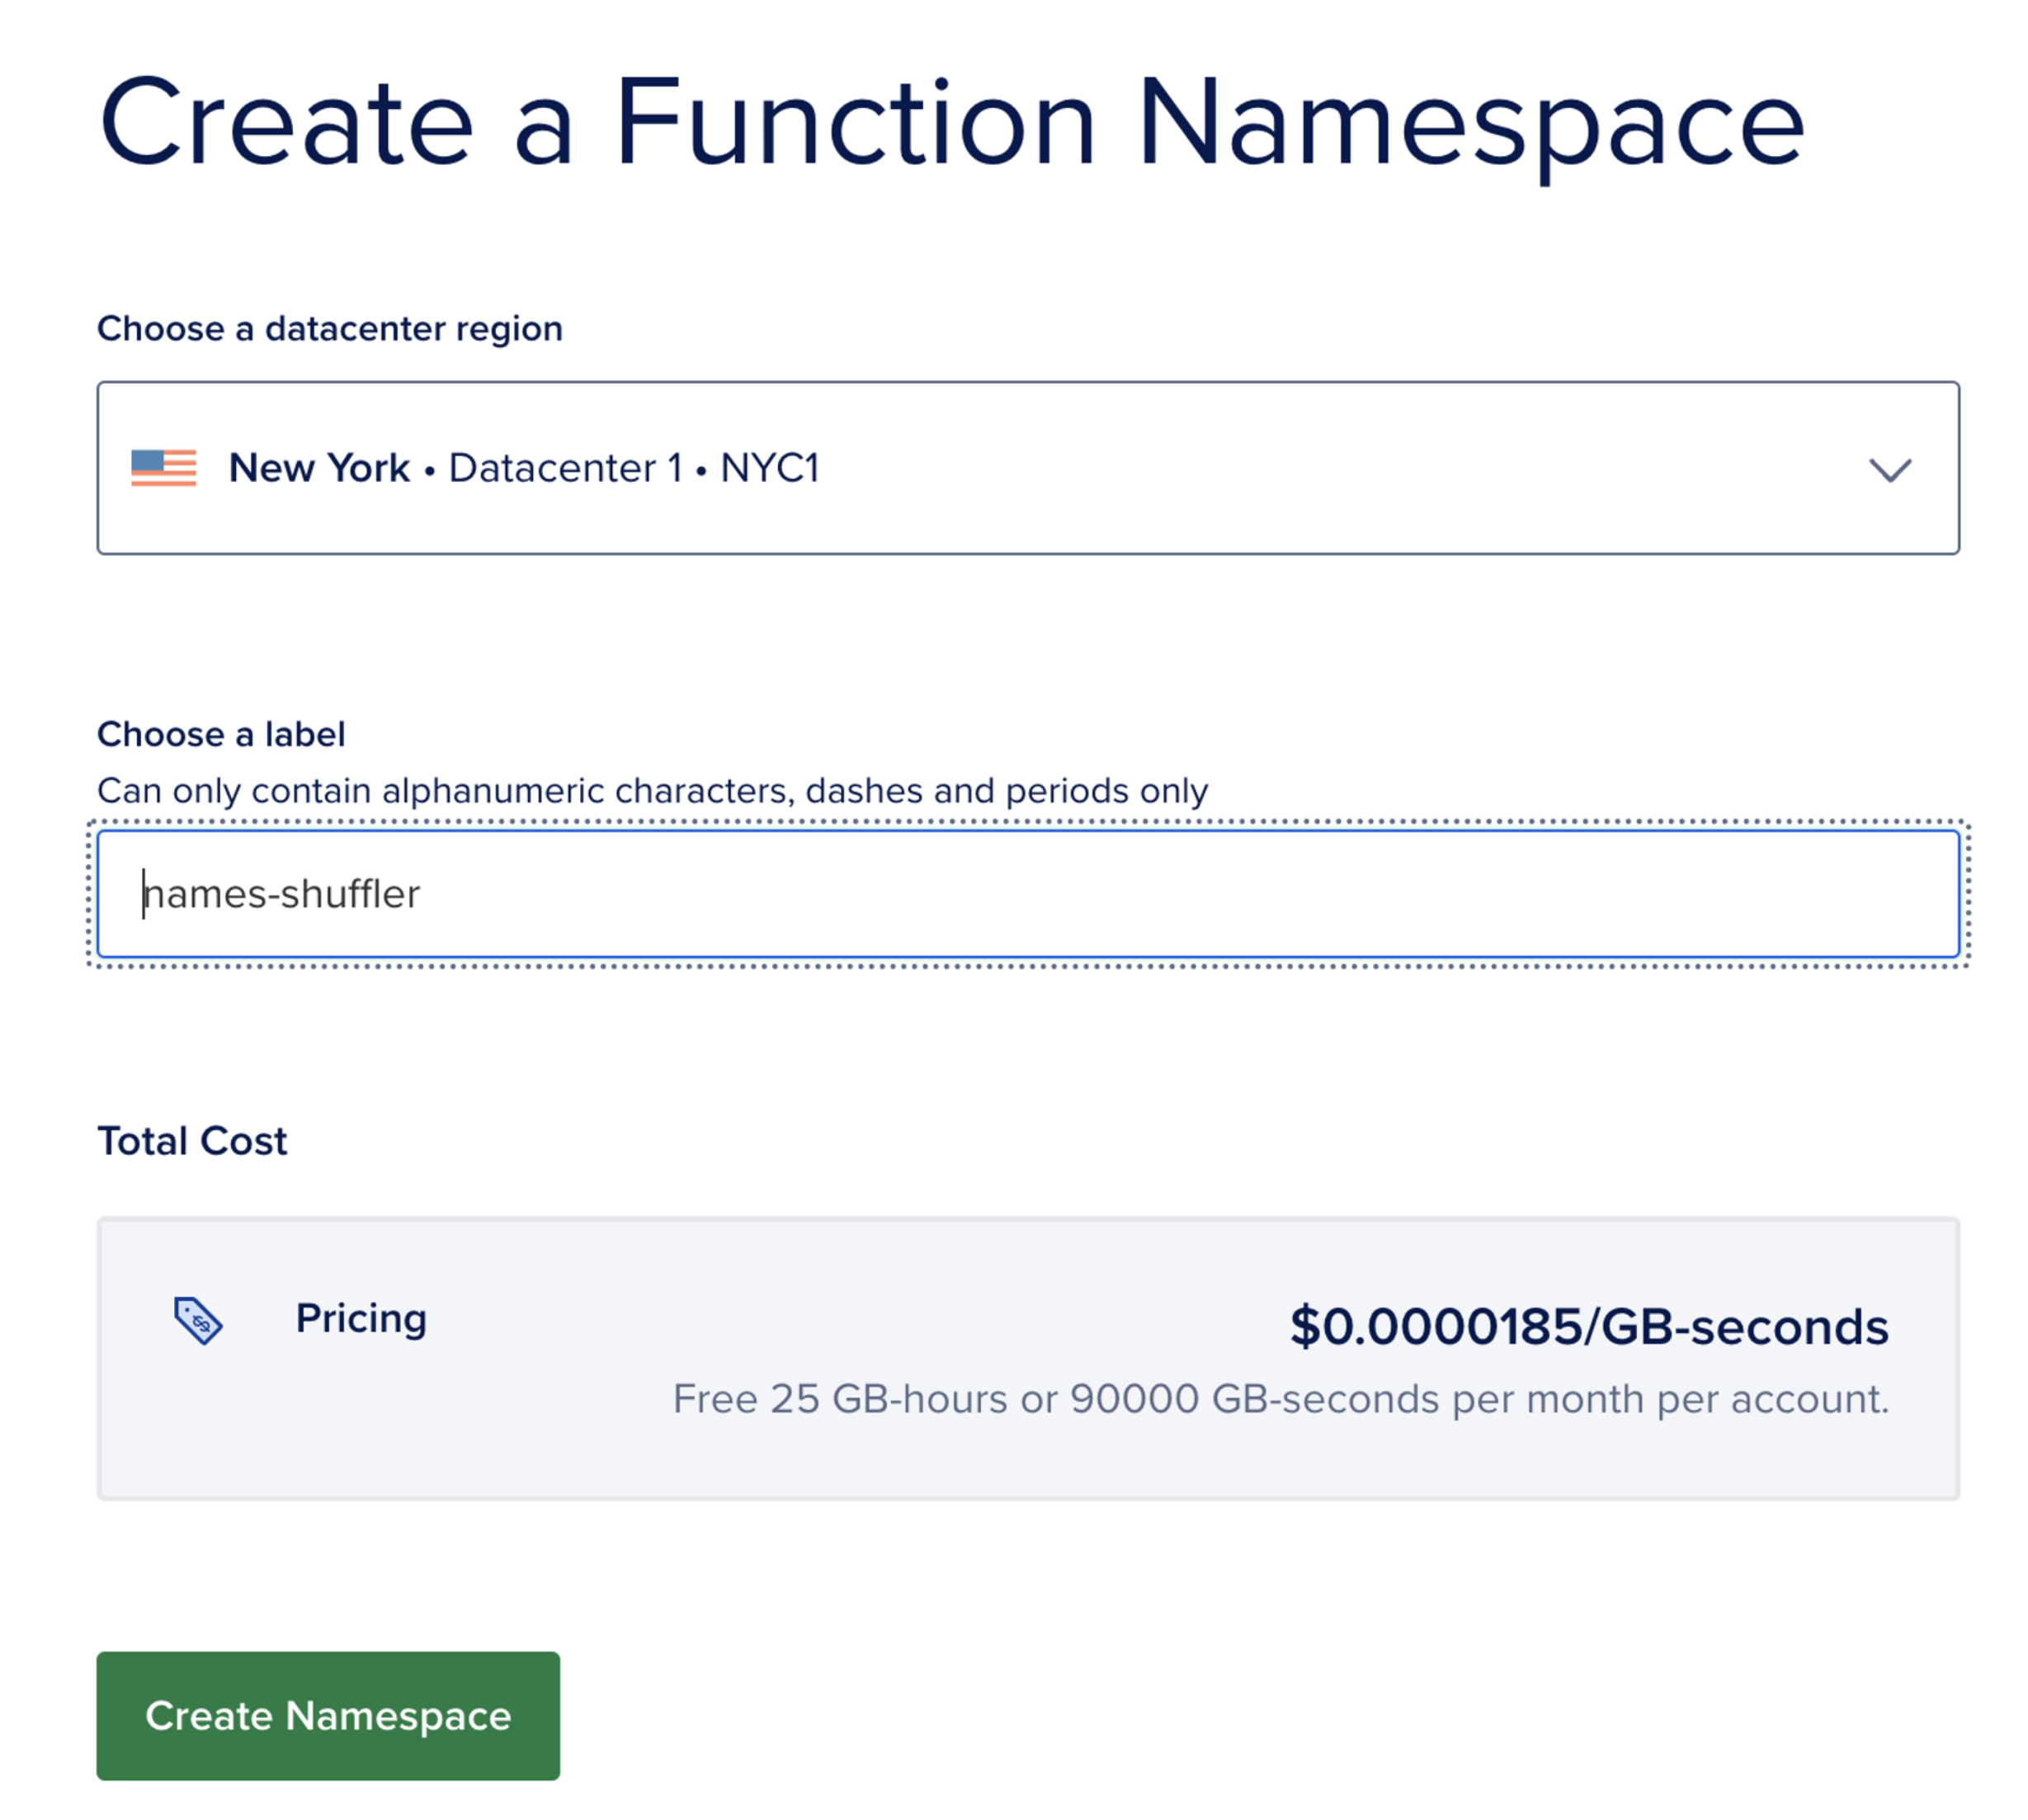
You can select the datacenter region of your choice and assign a label name of your choice as well, I am naming it “names-shuffler”.
then just click on “Create Namespace”, and you should be all set.
Back to the console on your machine:
If you followed the instructions from the prerequisites about installing and configuring doctl,
instructions here you should be able to see your account linked when you run this command:
$ doctl account get
Enable serverless on your machine:
$ doctl serverless install
Once that we confirmed that you are connected to you Digital Ocean account, we need to connect to it:
$ doctl serverless connect
if you have multiple namespaces, you should see a prompt to pick one
You should see something like this:

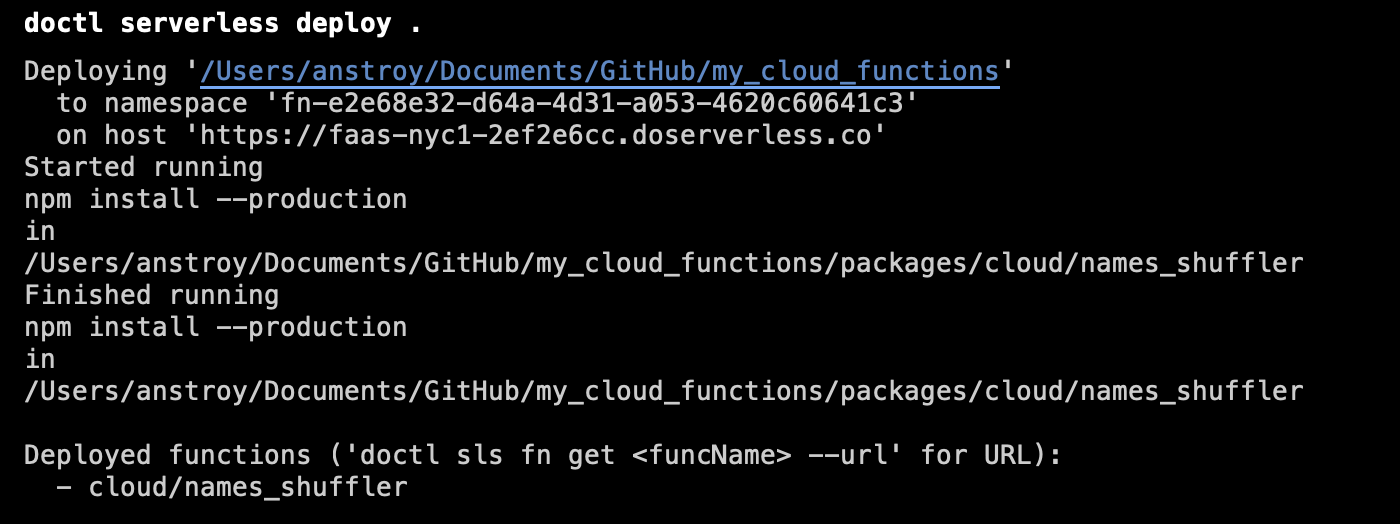
Once connected, deploy the function by running the following command from the app’s root directory:
$ doctl serverless deploy .
You should see something like this:
Congratulations! 🤩 You just deployed your first cloud function!
now lets test it:
To see your cloud function endpoint you can run:
$ doctl serverless functions get cloud/names_shuffler --url
you should see your URL, just copy it and navigate to it on your browser.
{url_from_above}?attendees=aus,tony,karol,mark,timmy
just add a param called
?attendees=aus,tony,karol,mark,timmyat the end of your URL with the names that you want to shuffle
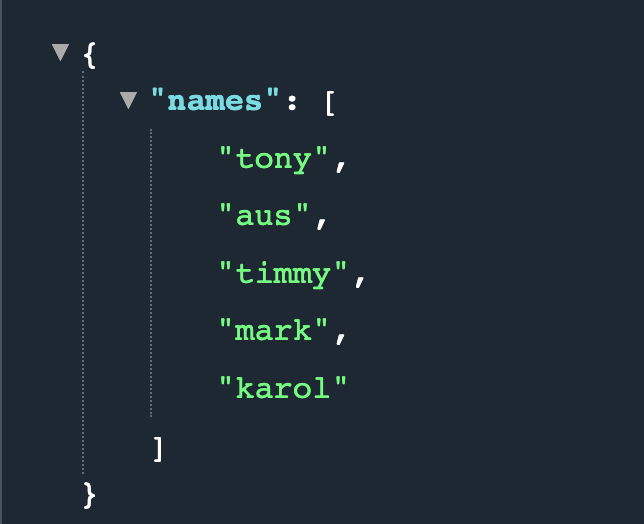
You should be able to get a similar response to this:
Final thoughts
I hope you liked this tutorial, remember that any change you want to make on your code, you just need to re-run the deploy command:
$ doctl serverless deploy .
The concepts are pretty much the same for any cloud functions out there like Google, AWS, etc.
There is an endless list of applications for cloud functions that you can use for your own projects. Check out something called serverless JAMstack, basically are apps that don’t have servers on the backend nor the frontend. I will make a tutorial about that soon!
Let me know if you come across any issues in the comment section, I would be happy to help!